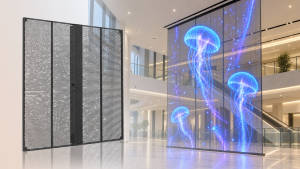
Compare flexible and rigid LED display connections by stability, service speed, curved applications, camera use, outdoor protection, and project budget.
When comparing LED displays, ask the supplier to remove a module. The back of the screen will tell you something a specification sheet often leaves out: what your technician will need to disconnect, replace and reconnect when a part fails.
Some modules connect through separate power leads and ribbon cables. Others plug directly into a board inside the cabinet. These arrangements are commonly called flexible—or soft—connections and rigid—or hard—connections.
The difference becomes clear when you open the cabinet for service.
First, check what “hard connection” refers to
In a cable-connected cabinet, wiring carries power and data between the module and the components behind it. After releasing the module from its mounting, a technician disconnects those cables to remove it completely.
A direct-plug module mates with connectors on a hub board or backplane, reducing loose internal wiring.
But suppliers also use “hard connection” to describe connections between cabinets or within a removable power box. Ask which part of the display the term covers. A photograph of the actual connectors is more useful than a general “cable-free” label.
Arclumin’s BL Beam Lock rental LED series and PL Pure Light indoor fixed LED series are starting points for buyers considering hard-connection systems. Confirm the connection layout and service procedure for the configuration being quoted.
What happens when a module needs replacing?
With a cable-connected design, a technician needs enough access to release the connectors without pulling on the wires. Cable length and routing matter. Short leads restrict movement; excess wiring can get trapped when the module goes back into position.
A damaged removable cable may be straightforward to replace if the correct spare is available. Keep cables with the right connector, pin assignment and current rating. Similar-looking parts are not necessarily interchangeable.
A direct-plug design removes some cable-handling steps. There are fewer loose leads to disconnect and tuck away, which can help when servicing several cabinets.
The connectors still need care. The module must approach them in the intended direction and sit correctly before it is secured. If it does not seat easily, check the alignment instead of forcing it. A damaged board-mounted socket may require a different repair from replacing a cable.
For either design, ask the supplier to demonstrate a complete module replacement with the equipment powered down according to its service instructions. Check the tools required, how the module is supported and whether the work can be done from the access side available on site.
Plan the spares at the same time. Our guide to how many spare LED modules to prepare covers the next part of that decision.
Rental screens: look beyond the first assembly
Rental cabinets are packed, transported, installed and taken down repeatedly. Service access matters, but so does protecting connectors and keeping replacement parts consistent across the fleet.
Ask whether modules, power boxes and receiving cards can be exchanged between the cabinets in your order. Have the supplier demonstrate the process instead of judging maintenance speed from a finished screen.
For an example of a rental order, see our TL1000-2.9O project for Italy. The order used twelve 500 × 1000 mm cabinets for a 3 × 2 m display. The project page includes factory photographs and a video.
Watch the TL1000-2.9O Italy project video on YouTube.
Use the project footage to review the display assembly and overall format. For a connection comparison, request a separate close-up showing the module removed and the connectors exposed.
Fixed installations: check access before choosing the cabinet
A cabinet that is easy to service on a workbench may be awkward against a wall. Confirm which components can be reached from the front, how much clearance is needed and whether any repair requires rear access.
The SG320-1.8 indoor fixed display project for Australia provides another installation reference. When discussing a similar order, review the mounting and maintenance arrangements alongside the display specifications.
Connection style alone does not establish picture quality, seam accuracy or outdoor protection. Those need separate checks on the proposed system.
It also does not determine whether a screen can curve. For a curved installation, confirm the permitted cabinet angles or module bending radius rather than choosing by the words “soft” or “hard.”
Before approving the order
Ask to see the exact cabinet you are buying, with one module removed. Then confirm:
- Which connections use cables and which use direct plugs?
- Can the module, power supply and receiving card be reached after installation?
- What needs replacing if a connector is damaged?
- Which spare parts should be kept on site?
- Can your technician carry out the replacement with the tools available?
Choose the design your team can maintain. A clean-looking cabinet is useful; a clear repair procedure and compatible spares are what make it practical over time.
Send Arclumin your screen dimensions, installation location and service-access requirements to discuss a suitable configuration.

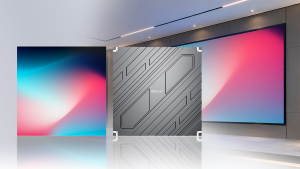 SG Steady GlowIndoor Fixed LEDP1.25 – P4
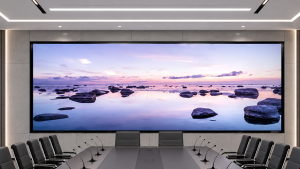 PL Pure LightIndoor Fixed LEDP1.25 – P1.86COB Fine Pitch LED→
 OG Obsidian GlowCOB Fine Pitch LEDP0.7 – P1.86View all product series →Not sure which series fits your project? Get a Recommendation →