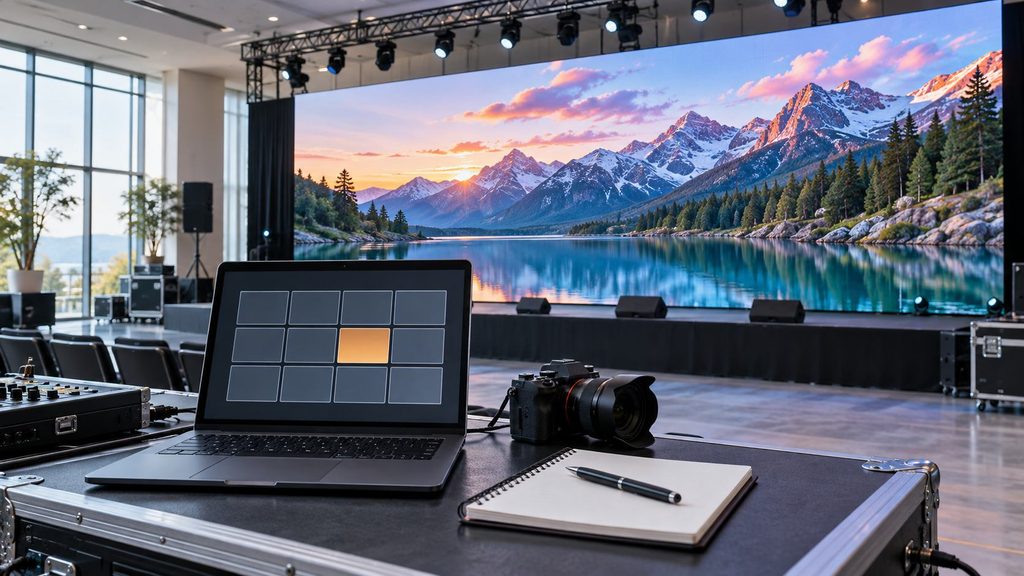
LED Screen Flickering: Causes & Troubleshooting Solutions
Published 2026-09-20 · Updated 2026-09-22 · By Arclumin Team
LED screen flickering can come from signal, power, configuration, or camera timing issues. Follow a clear troubleshooting sequence before replacing parts.
Start by Identifying the Flicker
LED screen flickering can mean several different things: the whole picture flashes, one cabinet blinks, or dark bands appear only in a camera recording. These symptoms do not necessarily share the same cause. Start by identifying what you can see, then check one part of the system at a time.
This guide explains a practical sequence for beginners: separate camera artefacts from visible faults, check the source and signal path, and collect useful information for the technician. Avoid changing several settings together, because a temporary improvement will not tell you which change helped.
Check Whether the Problem Is Visible Without a Camera
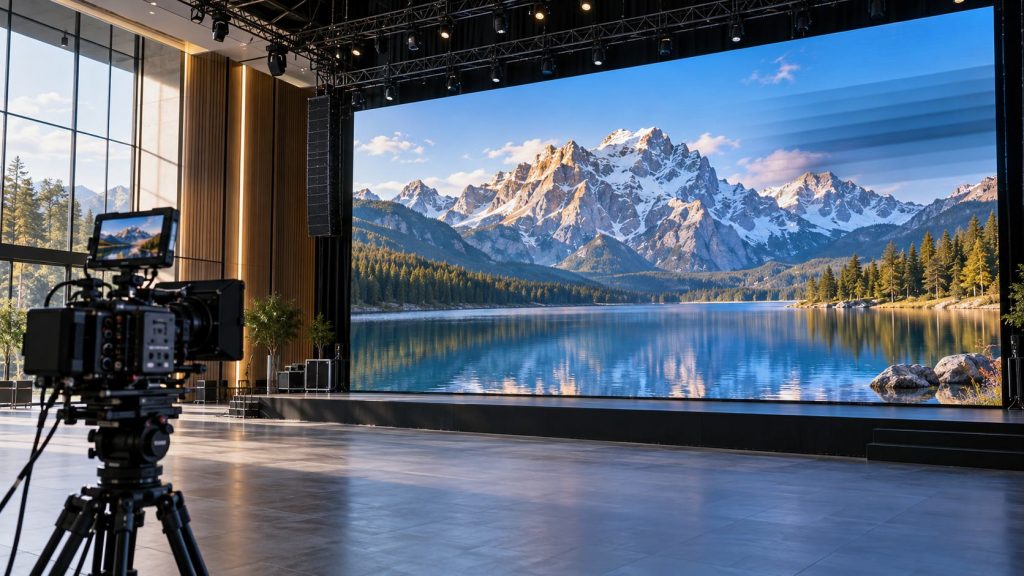
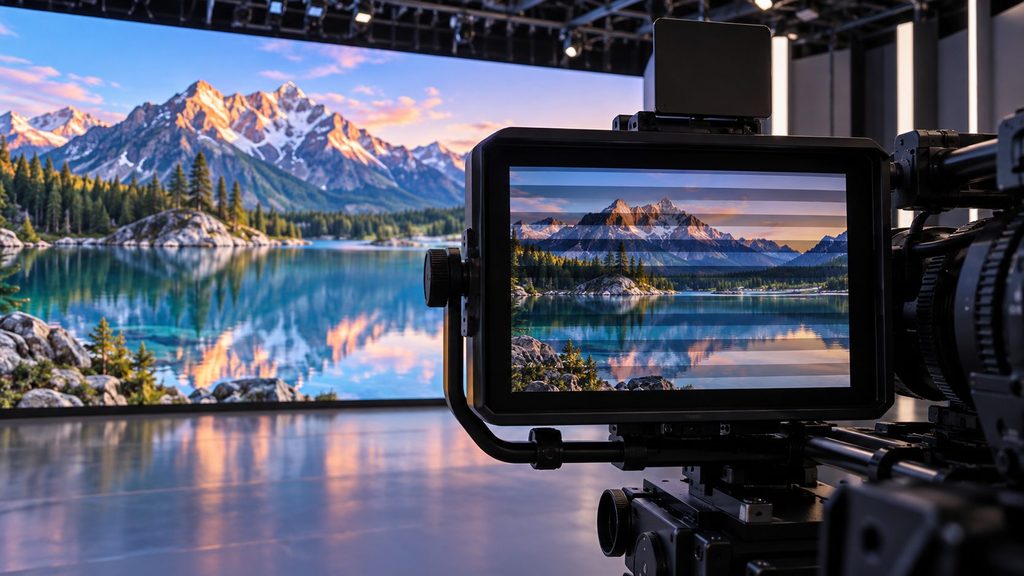
Look at the screen directly and compare it with the camera preview. If the display looks stable to the audience but the recording shows moving bands, start with the camera and display timing. A phone recording alone cannot prove that an LED module is defective.
Camera exposure, shutter timing, display refresh, and scanning behaviour interact. A high advertised refresh rate does not guarantee clean results with every camera setting. Ask the camera operator and LED technician to test compatible shutter settings and supported synchronisation features together; there is no single shutter value that fixes every installation.
If the flicker is also visible directly, note its extent. Does it affect the entire screen, a group of cabinets, one cabinet, or a small module area? This pattern helps narrow the investigation, but it is a clue rather than a diagnosis.
Record the Conditions Before Changing Anything
Record when the problem began and what changed beforehand. Useful details include a new laptop, a different input cable, a replaced module, a configuration update, or a recent installation. Note whether the fault appears immediately, after warming up, at a particular brightness, or only with certain content.
Take a wide view showing the affected area and a close view showing the symptom. Mark cabinet positions on a simple screen layout and record the controller model. Keep a note of each test and its result so the next person can continue without repeating the same work.
Test the Source and Input Signal First
For whole-screen interruptions, begin with the content source and its connection to the video processor or controller. Play a known-good local clip or still image, confirm the selected input, and check that the source resolution and frame rate are supported by the equipment. An unstable source can make healthy cabinets appear faulty.
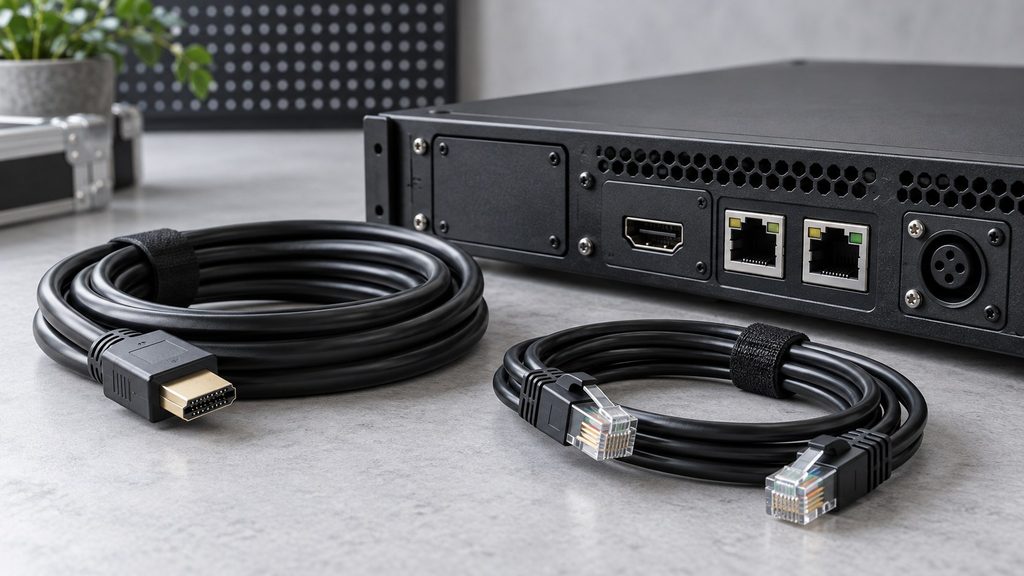
During an agreed maintenance window, try a known-good compatible input cable or another source, changing only one item at a time. Temporarily simplifying a chain of adapters and converters can help identify where a signal is being lost. Use the manufacturer-approved connection and switching procedure.
Where the controller provides an internal test pattern, have the operator compare it with the external source. A stable internal pattern points attention toward the upstream signal path. It does not prove that every downstream component is fault-free under every operating condition.
Trace the Affected Cabinets and Data Connections
If only part of the screen flickers, follow that section on the actual data-connection drawing. Cabinets sharing an output or an upstream connection may be affected together. A loose or damaged link can therefore produce a symptom that looks larger than the faulty connection itself.
Have the technician inspect the relevant cables, connector locks, strain relief, and visible damage. Use a known-good cable of the correct specification to test a suspected link. Do not randomly move output ports or change cabinet order without checking the screen mapping.
For a single module area, the technician may need to inspect the local connection, receiving-card output, or module itself. Replacement is useful only when the part is compatible and the test is controlled. A matching connector or pixel pitch alone does not establish compatibility.
Have Power and Temperature Checked Safely
Power instability, poor connections, or a failing supply can cause intermittent behaviour. A fault that appears as the screen warms up, or under brighter content, deserves attention to the power and thermal conditions. Those observations do not prove that the power supply is the cause.
An operator can record warning indicators and visible ventilation obstructions without opening equipment. Have a qualified technician check supply conditions, connections, loading, and temperature against the installation and product requirements. Do not open a power supply, adjust its output voltage, or probe live wiring as a beginner troubleshooting step.
If there is smoke, a burning smell, water ingress, or visibly damaged electrical wiring, stop testing and follow the site isolation procedure. Repeatedly restarting a screen is not a repair for an electrical fault.
Check Configuration Against the Actual Hardware
Incorrect receiving-card parameters or an unsuitable configuration file can disturb the display. Before changing anything, save the current configuration where the system supports it and obtain the approved file for the exact cabinet, module, and receiving-card combination. Do not copy settings from an unrelated screen.
On compatible NovaStar systems, the NovaLCT configuration manual explains screen configuration and performance parameters. Arclumin also provides the NovaLCT Windows software download. Confirm the appropriate software version with the supplier before using it; downloading a newer version is not, by itself, a flicker fix.
Source frame rate and LED refresh rate describe different parts of the display chain. A technician should check supported settings and their effect on image quality rather than simply choosing the largest number. Firmware changes and advanced driver settings should follow the specific hardware instructions.
Verify the Result Under Normal Operating Conditions
After a change, repeat the same test that originally revealed the fault. Then check the content, brightness, operating duration, and camera setup expected during use. A screen that looks stable for a moment on a still image has not necessarily passed the original problem condition.
For rental and live event installations, include the actual show source and production cameras in the rehearsal. When specifying TL Traveling Light, record the supplied cabinet and control-system configuration with the project documents. The series name alone is not enough to select a replacement part or configuration file.
Save the confirmed working settings, label replaced parts, and record what changed. Keep the original fault notes so a recurring problem can be compared with the earlier incident.
Send Support a Clear Fault Report
If the cause remains unclear, send the screen layout, controller and receiving-card models, software versions, affected cabinet positions, and the original configuration information available to you. Include the videos, camera settings if relevant, and a short list of tests already completed. State whether the fault was visible directly or only on camera.
A useful report makes the next diagnostic step more precise and reduces unnecessary part swapping. Share your symptoms and system details with the Arclumin team to discuss the next troubleshooting step for your installation.
For project inquiries, please contact your dedicated Arclumin Sales Consultant. Our team operates across time zones to support projects in Europe, North America, Africa, Australia, and markets worldwide.
WhatsApp +86 136 8235 1211 · 7×24 — we reply within 24 hours.

 SG Steady GlowIndoor Fixed LEDP1.25 – P4
 PL Pure LightIndoor Fixed LEDP1.25 – P1.86COB Fine Pitch LED→
 OG Obsidian GlowCOB Fine Pitch LEDP0.7 – P1.86View all product series →Not sure which series fits your project? Get a Recommendation →