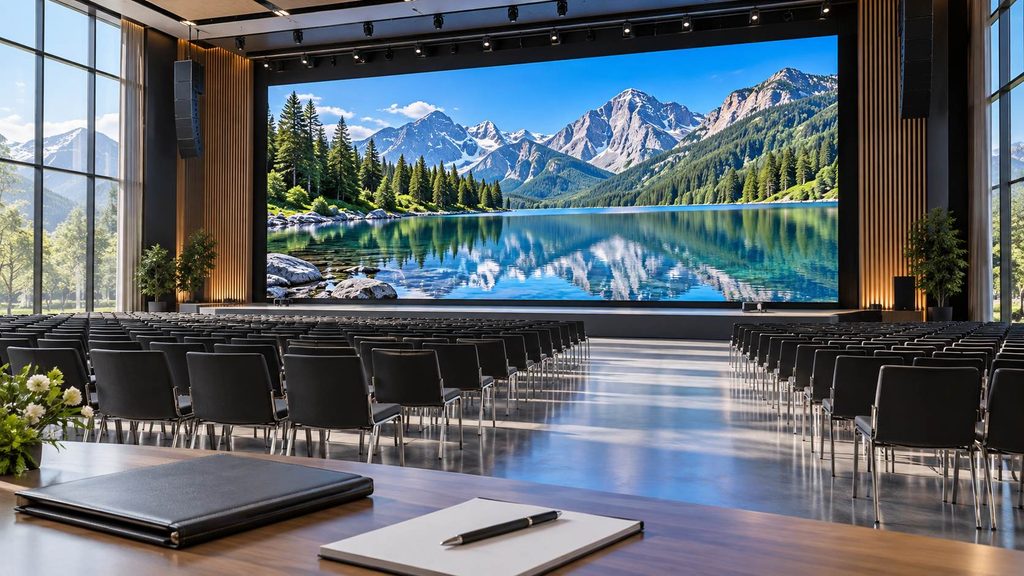
How Long Does LED Screen Installation & Commissioning Take?
Published 2026-09-30 · By Arclumin Team
LED screen installation time depends on site readiness, layout, and integration needs. Learn how to plan assembly, commissioning, testing, and handover.
Start with the Scope Behind the Schedule
LED screen installation and commissioning do not have one reliable standard duration. A prepared venue receiving a temporary display has a different scope from a permanent installation that still needs structural work and electrical preparation. Screen area alone is not enough to promise a completion date.
The useful answer is a project schedule that separates site readiness, physical assembly, connections, commissioning, and acceptance. Ask when the clock starts and what counts as finished. A screen showing its first image may still need picture checks, source integration, operator training, and handover before it is ready for normal use.
Separate Assembly from Commissioning
Installation covers putting the approved support and cabinets in place and completing the required connections. Commissioning checks whether the assembled system operates as intended. It includes the relevant controller configuration, screen mapping, image checks, and testing with the actual source equipment.
These activities overlap in some projects, but they are not interchangeable. Finishing the cabinet wall does not confirm that the picture is mapped correctly or that every input works. A schedule labelled only as installation time can therefore hide work that still needs to happen.
Agree on a sequence of milestones: site released for work, mechanical installation complete, electrical checks complete, first image, functional tests passed, and handover accepted. Assign an owner to each milestone. This makes a delay easier to identify than a single promise to finish everything by a certain hour.
Confirm That the Site Is Ready
Before booking the installation crew, confirm access, unloading arrangements, delivery routes, and storage space. Check whether doors, lifts, working hours, or other trades restrict the work. A crew cannot recover time spent waiting for a loading bay simply by assembling cabinets faster.
The mounting design and its approvals, where required, should be resolved before installation starts. The responsible specialists need to confirm the supporting structure, attachment method, and site conditions. Power distribution, grounding arrangements, and data routes must also be ready for the agreed work sequence.
Permanent indoor projects may need coordination with wall finishes and service access. Outdoor projects can involve foundations, enclosure details, weather exposure, and access equipment. Include this preparatory work explicitly in the overall programme rather than treating it as part of a quick cabinet assembly estimate.
Estimate Physical Work from the Actual Layout
Cabinet quantity, mounting method, working height, and access influence assembly effort. A simple accessible rectangle and a curved or irregular installation can have very different workloads even when their areas are similar. Alignment and service clearances also require attention, not just lifting panels into position.
For a rental configuration such as TL Traveling Light, confirm the selected cabinet format and the approved installation method. A series name or quick-lock feature is not an hourly productivity guarantee. The crew still needs the appropriate equipment, a workable sequence, and inspection time.
Ask the installer to estimate from the actual drawings and crew plan. Increasing headcount does not automatically divide the duration proportionally: limited working space, lifting equipment, and tasks that must happen in order can restrict progress. Structural work and rigging should remain under the responsible qualified team.
Allow Time for Connections and Controlled Power-Up
Power and data work depends on the number of circuits, cabinet connections, cable routes, and control-system outputs. Labelling cables and following the approved connection drawing makes later fault finding easier. Inaccessible connections or routes changed on site can create extra work.
Before energising the display, the responsible electrical personnel should complete the checks required for the installation. Power-up should follow the equipment and site procedures. Do not remove those checks from the schedule to meet an opening time.
A controlled initial test helps identify missing sections or communication problems before the full operating programme begins. If a connection fault is found, include time to correct it and repeat the relevant checks. Reaching the first image is a milestone, not proof that the installation is complete.
Plan Commissioning Around the Complete Signal Chain
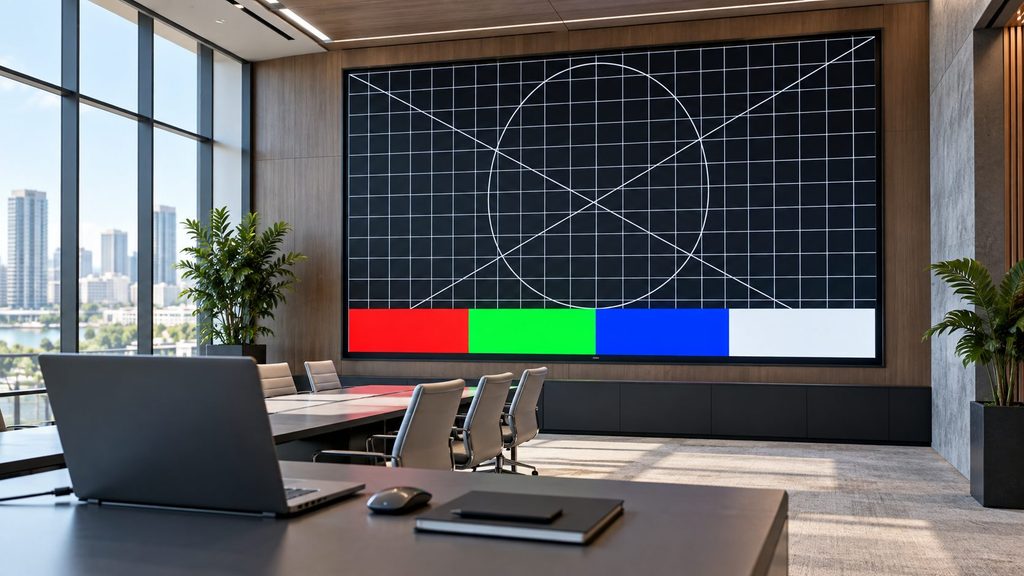
Commissioning starts with the actual cabinet layout and control hardware. The technician confirms configuration files, data connections, screen mapping, and the expected input format. Test images can help reveal misplaced sections, visible seams, colour differences, or other issues that need investigation.
For compatible NovaStar systems, the NovaLCT configuration manual provides the relevant configuration workflow. Arclumin also hosts the NovaLCT Windows software download. Confirm the version and hardware compatibility with the supplier, and prepare approved configuration files before the site visit.
Use the specified calibration data and adjustment procedure for the supplied system. Do not assume every project requires a new full calibration, or that a software update will solve an image mismatch. If replacement parts or configuration changes are needed, the schedule should include the resulting checks.
Finally, test the customer sources, switching, scaling, and operating brightness that will actually be used. Where cameras or backup signal paths are part of the agreed scope, test those too. A successful internal test pattern does not establish that the complete playback system is ready.
Reserve a Separate Acceptance and Handover Window
Agree on acceptance criteria before the work starts. These may include complete image coverage, correct content layout, agreed picture checks, functioning inputs, and any specified backup operation. The responsible people should know who can approve completion and how unresolved items will be recorded.
Set an observation or test period suited to the equipment, project requirements, and intended use. There is no universal burn-in duration that can be assigned to every LED installation. Record the operating conditions and results rather than describing a brief successful display as a full reliability test.
Handover should include the final configuration backup, connection drawings, operating instructions, maintenance contacts, and agreed spare-parts information. Give the operator a chance to practise normal start-up, source selection, and shutdown. Training and documentation need their own place in the schedule.
Build the Schedule Around Dependencies and Contingency
A practical planning sequence is site preparation, assembly, connections and power checks, commissioning, then acceptance and handover. Some preparation can happen in parallel; other tasks must wait for an earlier check to pass. Ask for the sequence and dependencies instead of simply adding every labour estimate together.
For rental and live event projects, work backwards from rehearsal and showtime. Confirm the venue access window, the time sources and cameras become available, and the latest point for accepting the screen. Do not use the performance start as the target for first power-up.
Request a realistic contingency allowance based on identified risks, such as access delays, missing parts, weather, or integration problems. Do not apply an invented fixed percentage to every project. The installer should explain the assumptions behind the allowance and when a change would require a revised completion date.
Get a Useful Estimate Before You Commit
Send the supplier the screen dimensions, cabinet layout if available, installation height, indoor or outdoor location, and proposed mounting method. Include site photos or drawings, access restrictions, power and data readiness, source equipment, and the required handover or rehearsal date. State whether structural preparation and operator training are included in the requested price and programme.
Ask for a stage-by-stage estimate with prerequisites, crew responsibilities, and acceptance requirements. This gives you a more useful answer than a headline number that assumes a ready site. Share your layout, site conditions, and target date with the Arclumin team to discuss the installation and commissioning scope for your project.
For project inquiries, please contact your dedicated Arclumin Sales Consultant. Our team operates across time zones to support projects in Europe, North America, Africa, Australia, and markets worldwide.
WhatsApp +86 136 8235 1211 · 7×24 — we reply within 24 hours.

 SG Steady GlowIndoor Fixed LEDP1.25 – P4
 PL Pure LightIndoor Fixed LEDP1.25 – P1.86COB Fine Pitch LED→
 OG Obsidian GlowCOB Fine Pitch LEDP0.7 – P1.86View all product series →Not sure which series fits your project? Get a Recommendation →